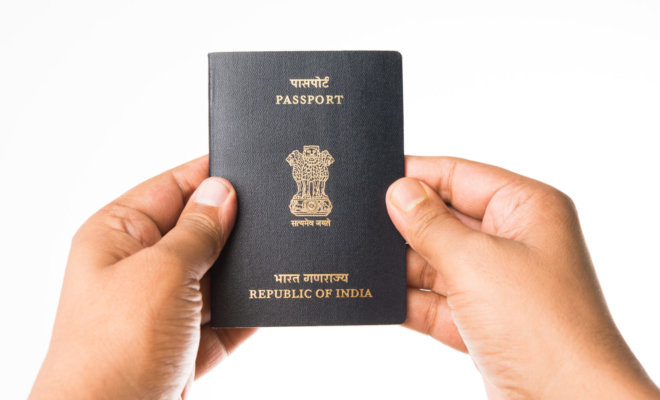
Apassport is an official travel document that carries a person’s identity. The document has essential identity proof about the individuals such as the full name, photograph, place, date of birth, signature, and expiration date of the passport. A person is allowed to enter a country only via a passport issued by the respective country. The governments across various nations issue passports for different purposes.
The common variety issued by individual citizens is ordinary passports. Nowadays, passports are issued by travellers rather than groups. Certain governments allow citizens to have more than one ordinary passport. Special official passports, like diplomatic passports, are also prepared for work-related visits.
Read More: Indian Railways Update: IRCTC to Run 214 Special Trains for Ganesh Chaturthi 2022
When a person gets married or divorced, the spouse’s name is added or removed from the passport. This process might need some procedure applicable to the passport. And it requires changes in the information made in order to endorse the spouse’s name on the passport. For adding the spouse’s name to your passport online there are certain required documents:
- Original passport
- Passport first and last page copies
- Observation page
- ECR or Non-ECR page (Emigration check required)
- Passport with short validity where the validity page needs to be submitted
Read More: LPG Gas Cylinder Price Hike: Cooking Gas Becomes Costlier from Today; New Rates Here
STEPS TO ADD SPOUSE NAME IN PASSPORT ONLINE:
Step 1: Register on the official passport Seva online portal
Step 2: Provide ID and password.
Step 3: Tap on ‘Apply for a fresh passport/ re-issue.
Step 4: The information should be entered and press the submit button.
Step 5: Now click on the ‘Pay & Schedule Appointment’ option.
Step 6: A payment option will be selected by making a prior online charge payment before preferring an appointment at PO, POPSK, or PSK.
Step 7: Tap on the ‘Print application receipt.’
Step 8: Now download the e-form in XML format from the official website.
Step 9: The user can provide an ID and password and upload the XML document.
Step 10: Finally make the payment and download the receipt.


